
Most homeowners pay $300-$700 per window for professional installation, but if you’re handy with basic tools, you can install replacement windows yourself and pocket those savings. Here’s exactly how to do it right.
Should You DIY or Hire a Pro?
DIY makes sense if:
- Your existing window frames are solid (no rot or damage)
- You’re choosing insert/pocket replacement windows (not full-frame)
- You have 4-6 hours per window and basic carpentry skills
- Windows are on the ground floor (easier access)
Hire a pro if:
- Frames are rotted or deteriorating
- You need full-frame replacement (removing entire window and frame)
- Windows are on upper floors or hard to access
- You want installation warranty coverage (often 10 years with pros)
Average DIY cost: $500-$600 per quality vinyl window + supplies Pro installation cost: $800-$1,300 per window installed
What You’ll Need
Essential tools: Drill/driver, level (2-ft), tape measure, utility knife, caulk gun, pry bar, putty knife, hammer, oscillating tool
Materials: Flashing tape, silicone caulk, window/door spray foam, shims, finish nails, wood filler
Time required: 4-6 hours per window (ground floor)
Step-by-Step Installation (Insert Replacement Windows)
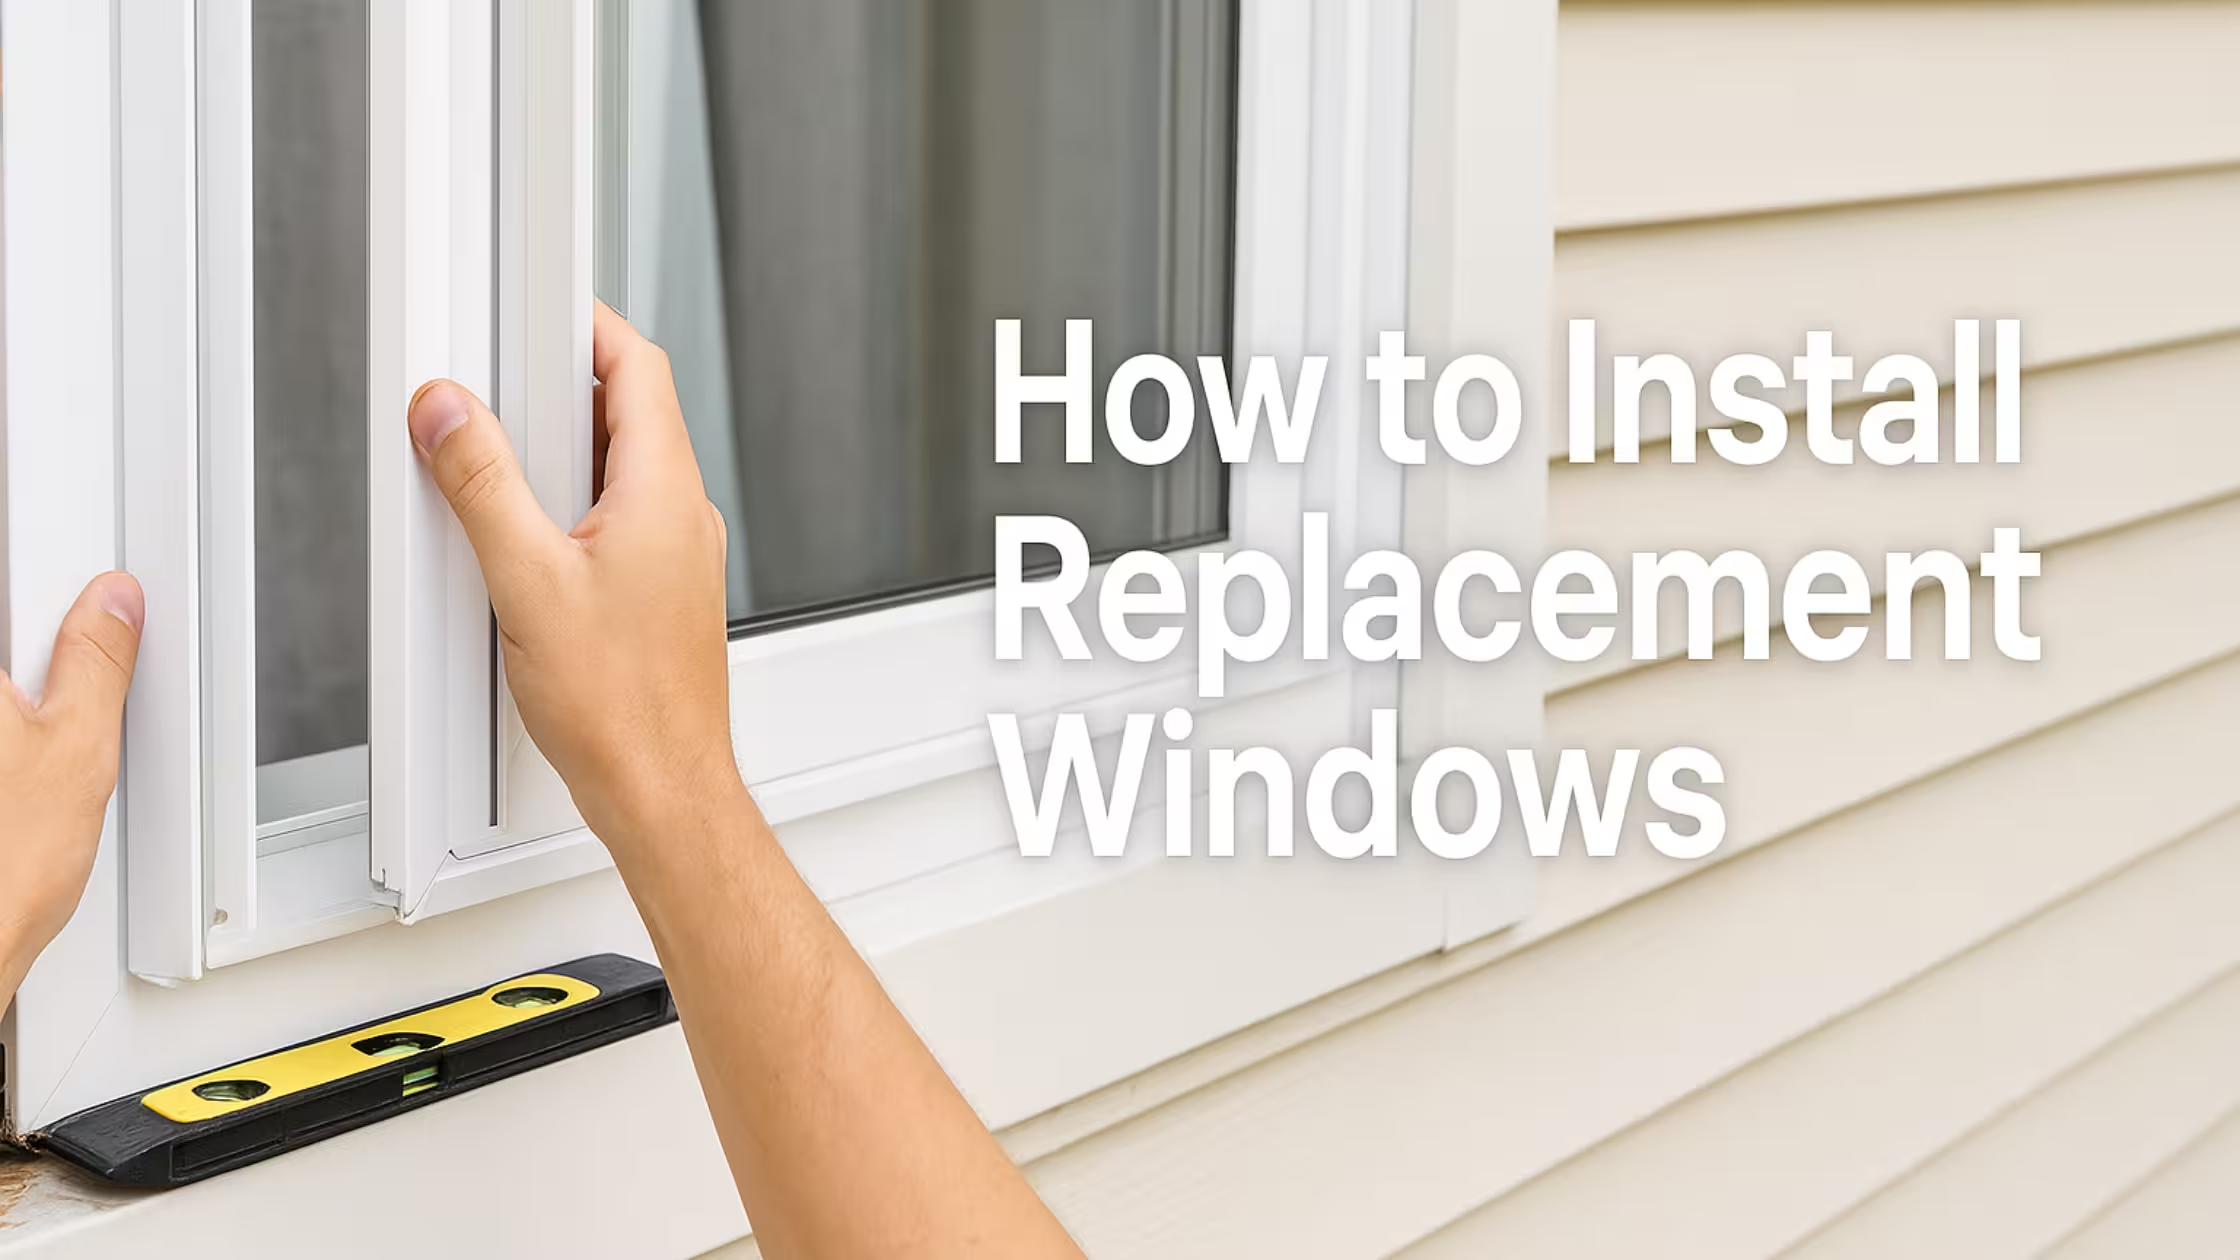
1. Measure Precisely
Measure the width at the top, middle, and bottom of the frame. Measure height at left, middle, and right. Order windows using the smallest measurements; this ensures proper fit.
2. Remove the Old Window
- Remove storm windows first (if applicable)
- Score paint edges with utility knife
- Remove sash weights or springs (older windows)
- Identify and remove exterior stops (leave interior stops)
- Fill any holes with wood filler
3. Prep the Opening
- Vacuum all dust and debris thoroughly
- Apply flashing tape to the sill
- Check that sill is level (use shims if needed)
- Dry-fit your new window to confirm proper gaps around frame
4. Install the New Window
- Apply 3/8-inch bead of silicone caulk on interior stops and sill
- Set window in opening, pressing firmly against caulk
- Use shims at pre-drilled screw holes, then drive screws through shims
- Check that sashes operate smoothly and sit evenly
5. Seal and Insulate
- Fill gaps with spray foam insulation (don’t overfill)
- Install sill adapter and drill weep holes for water drainage
- Install exterior trim with finish nails
- Caulk around trim (avoid covering weep holes)
- Apply caulk along interior trim
Cost Breakdown
| Item | DIY Cost | Pro Cost |
| Quality vinyl window (36×54″) | $500-$600 | $500-$600 |
| Installation supplies | $50-$100 | — |
| Labor | $0 (your time) | $300-$700 |
| Total per window | $550-$700 | $800-$1,300 |
Potential savings: $300-$600 per window
Common Mistakes to Avoid
- Not measuring correctly – Always measure three times in each direction
- Skipping the level check – Unlevel windows won’t operate properly
- Overfilling with foam – Too much foam can bow the frame
- Ignoring rotted frames – DIY only works with solid, undamaged frames
- Rushing the process – Take your time to ensure proper sealing
When Full-Frame Replacement Is Required
You’ll need full-frame replacement (more complex, usually requires a pro) if:
- Existing frames show rot or deterioration
- You’re changing window size or style
- You’re adding new interior/exterior trim
- Structural issues are present
Next Steps: Get Started the Right Way
Ready to DIY? Start by carefully measuring your windows and ordering quality replacement windows from trusted manufacturers (JELD-WEN, Andersen, and Pella).
Not confident in DIY? Get 3 free quotes from local window installation pros and compare offers. Professional installation includes warranties and guarantees your windows will perform properly for years.
Get Free Window Installation Quotes – Compare local installers, pricing, and warranty coverage in minutes. Most homeowners save time and hassle while ensuring proper installation.
Bottom line: DIY window installation can save you $300-$600 per window, but only attempt it if your frames are solid and you’re comfortable with the 4-6 hour process. When in doubt, professional installation protects your investment with proper sealing, warranties, and expert craftsmanship.